
Imagine this: you’re cozying up to your warm, freshly dried laundry, blissfully unaware that your dryer vent is packed tighter than a can of sardines. Not only does that increase drying times, but it also poses a nasty fire hazard. Let’s face it. Cleaning your dryer exhaust vent is not the most glamorous chore, but ignoring it can lead to disaster. Fortunately, we’ve got the scoop on why and how to keep those vents sparkling clean, so you can enjoy the scent of clean clothes without having a cloud of danger hanging over you.
Importance Of Regular Dryer Exhaust Vent Cleaning
Regular cleaning of dryer exhaust vents is crucial for several reasons. First and foremost, it ensures the safety of the home. A clean vent significantly lowers the risk of dryer-related fires. Did you know that according to the U.S. Fire Administration, roughly 2,900 home fires are reported each year due to clothing dryers? Beyond safety, there are efficiency advantages. A clean vent allows dryers to operate at peak performance, reducing energy consumption, which means lower utility bills. Also, maintaining your dryer vent extends the life of the appliance, saving homeowners the cost of premature dryer replacement.
Understanding The Risks Of A Clogged Dryer Vent
Clogged dryer vents carry significant risks. Firstly, lint buildup traps heat, creating a fire hazard. This accumulation not only increases the temperature inside the dryer but also hampers airflow. So, the dryer struggles to perform efficiently, leading to prolonged drying cycles. Over time, this can cause the dryer to overwork and potentially damage the motor. Besides, moisture can remain in the dryer, fostering mold growth and creating unpleasant odors that linger in your clothes. Understanding these risks highlights the importance of proactive maintenance.
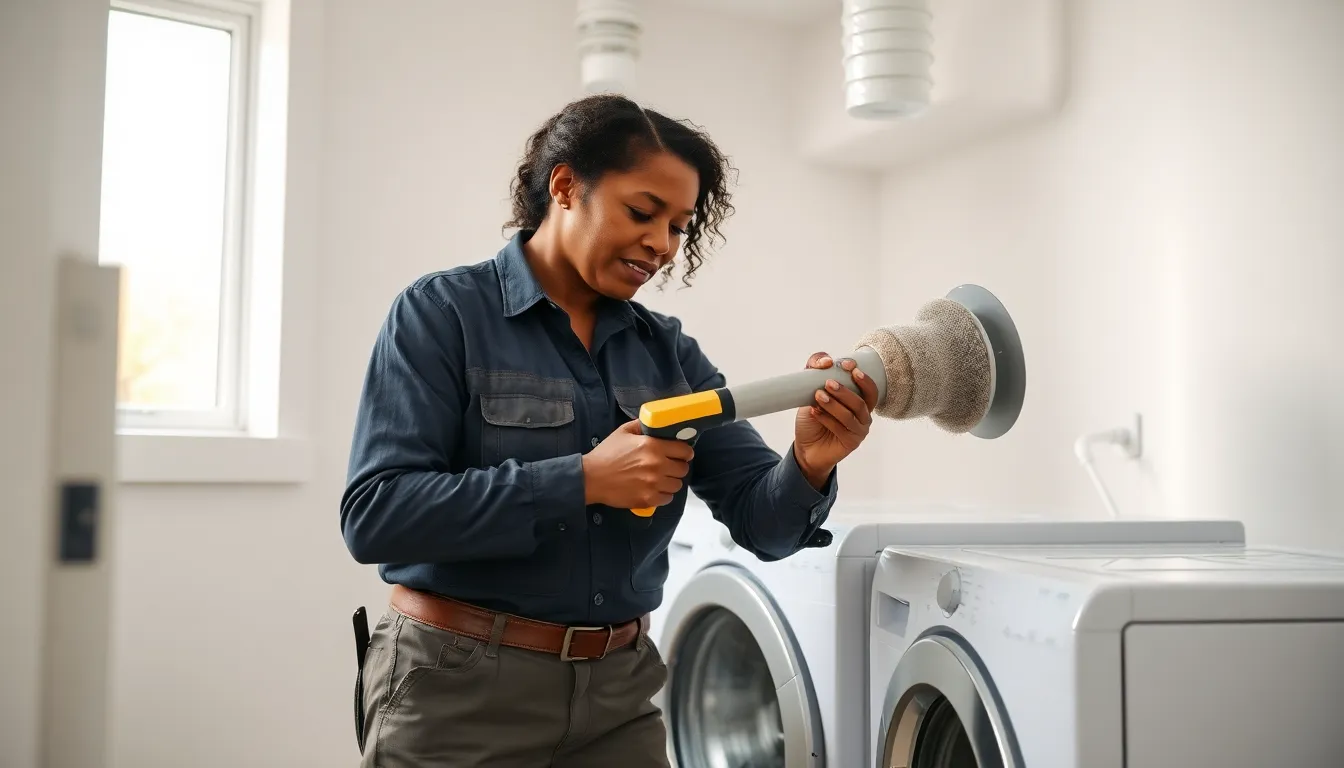
How To Clean Your Dryer Exhaust Vent
Cleaning your dryer exhaust vent may sound like a challenging job, but it’s entirely doable. With a little preparation and some elbow grease, you can tackle this chore like a pro.
Tools And Materials Needed
Before getting started, gather the following tools:
- Screwdriver (to remove the vent cover)
- Vacuum with a hose attachment
- Lint brush or a specialized dryer vent cleaning brush
- Cloth for wiping down surfaces
- Safety goggles and a mask (to protect against dust)
Step-By-Step Cleaning Process
- Power Down Your Dryer: Always unplug your dryer before starting any maintenance work. Safety first.
- Disconnect the Vent: Remove the vent from the back of the dryer using the screwdriver. Be gentle to avoid damaging any connections.
- Inspect the Vent: Look for any visible blockages or damage. If things look grim, it might be time for a professional to take a closer look.
- Vacuum It Out: Use your vacuum with a hose attachment to suck out all the lint and debris you can reach. For deeper cleaning, use a lint brush to dislodge anything stuck inside.
- Clean the Outside Vent Cover: Don’t forget the vent on the outside of your home. Remove the cover and clear out any debris.
- Reconnect Everything: Once everything is clean, securely reattach the vent to the dryer and plug it back in.
When To Call A Professional
Sometimes, tackling the dryer vent cleaning might be a bit too much for the average homeowner. If after your cleaning session the dryer still struggles to dry clothes, it might signal deeper issues requiring professional help. Consider calling a technician if:
- The vent is excessively long or has multiple bends, complicating cleaning efforts.
- There’s consistent odor or moisture in your laundry room, which suggests a deeper clog.
- You encounter major damage or unusual noises from the dryer itself during operation.
Experts can provide specialized tools and expertise to ensure the vent is thoroughly cleaned and functioning correctly.
Preventative Maintenance Tips
To keep your dryer vents clean and functioning, consider these preventative tips:
- Regular Inspections: Check your dryer vent connection regularly for signs of wear or blockage.
- Use Lint Traps: Always clean the lint trap after every use to minimize lint buildup in the vent.
- Limit the Length of the Vent: If possible, use the shortest vent length possible. This limits the areas where lint can accumulate.
- Run a Cleaning Cycle: If your dryer has a self-cleaning cycle, use it at least once every few months.
- Consider Professional Cleaning Annually: Plus to DIY cleaning, a yearly professional inspection ensures your dryer is in optimal shape. Regular maintenance provides peace of mind while preserving the dryer’s efficiency.